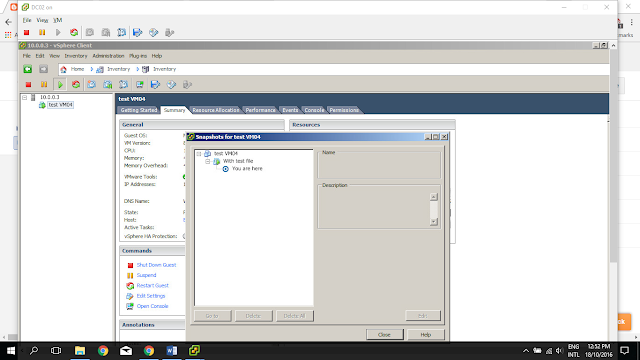
In this task, we are going to unregister a Virtual Machine from the inventory. Unregistering the virtual machine from the inventory does not delete it from the data store, let us see how it works.
First, we have to shut down the running machine.
Then I have right click on the VM and selected Remove from Inventory option.
Now it got deleted from the inventory,then I have navigated to the data store and found the VM in the datastore.
Now we will restore the VM from the datastore by registering with the vCenter Server. I have selected and right clicked on the .vmx file in the datastore and selected the option register VM. Then selected inventory location and click ok to move it to the inventory.
Now the VM is back in the Inventory.
Next, we will unregister and delete VM from the disk. This will delete the configuration files and virtual disk files, from the datastore.
Now the "VM From Temp" machine from the datastore as well.
Our next task is to take a snapshot of the VM, snapshot will take state and data of VM at the time we take the snapshot. We can use snapshot to go back to the old state of the VM. For this task I am selecting the test VM which is already in my inventory and logged in as administrator.
To demonstrate the state status I am going to create a file called 'test file 01' on my desktop.
Now I am taking a snapshot of the machine and named it as 'with test file'. In the description also I have mentioned that.
I could see the status of creating snapshot.
Now I am going back to the VM and deleting the test file from the desktop. Then again we will take a snapshot, so that after the creation of snapshot one should have the test file and other one should not have it.
Then I went to the snapshot manager I could see the two snapshots what we created.
Now we will look ho to revert to a snap shot, this will explain how we can go back to a previous state of VM, with the help of snapshot. To test it I went to the snapshot manager and selected the 'with test file'snapshot and select Revert to option. This should give us the deleted file back on desktop let us check it out.
First I have restored the last snapshot then I realize that it is not making scene because it will restore the state where the file already deleted. Then I have user the first snapshot which contains the test file.
Then I could see the status as revert snapshot has been completed.
Now it got restored to the previous state so that the deleted file I could see on my desktop.
Then I went to the snapshot manager again, now the you are here pointer has been moved up to the first snapshot.
Now we will check how to delete an individual snapshot. For that, I went to Manage snapshots and selected the second snapshot and select delete button.
There is an another option to delete all snapshots in the snapshot manager, let us check it out.
I have selected the Delete All option and I could delete all the screen shots.
That is all about Screenshots and managing Virtual Machines.


